Just a heads up, I’ve included some affiliate links in this article. Your support will help me in this journey to document as much about Fatherhood (and parenting in general) as I can! Thanks for your support.
One thing that has been a game changer for our family is learning how to make our own sourdough bread. Of course we had heard about people making their own bread, but it always seemed so complicated and time consuming – like you need not only knowledge in the arts of culinary, but also chemistry. Feeding sourdough starter, discarding, keeping it ALIVE – I mean, I have a hard time keeping myself and my own kids alive let alone sourdough starter!
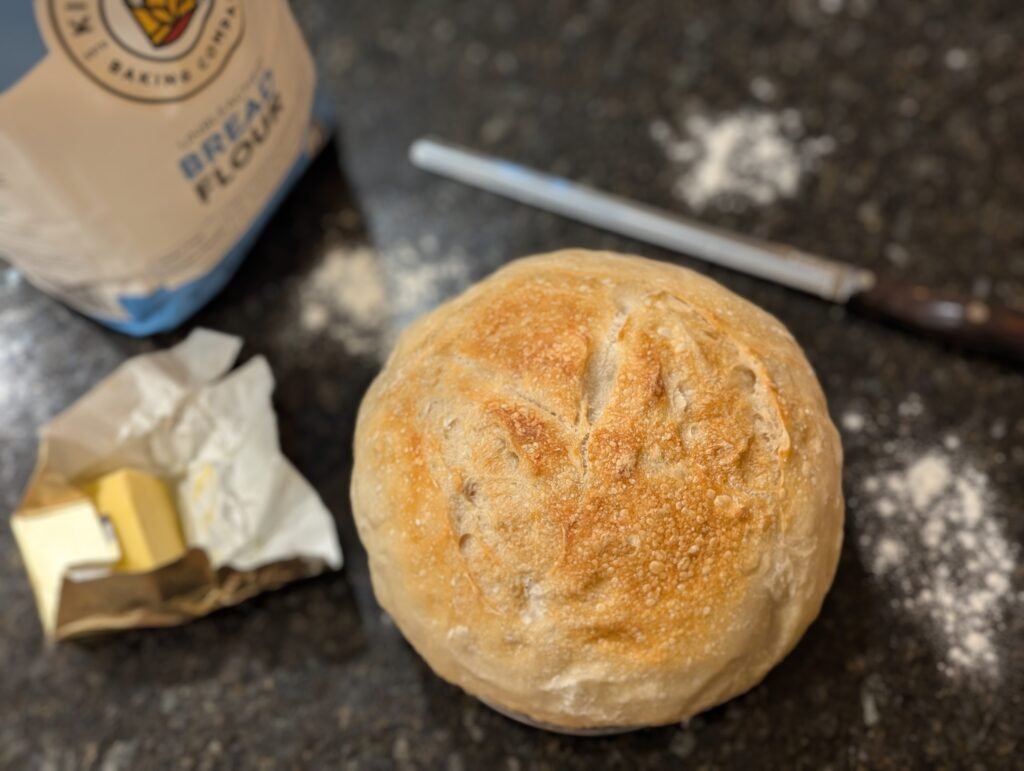
However, every time we would stay with Grammy, the wonderful smells of sourdough baking in the oven, the steam escaping as you tear it apart, the so satisfying crunch and the flavor of melted salted butter in every bite (it was not hard to eat an entire loaf in a sitting), it became too irresistible – I had to know how to do it.
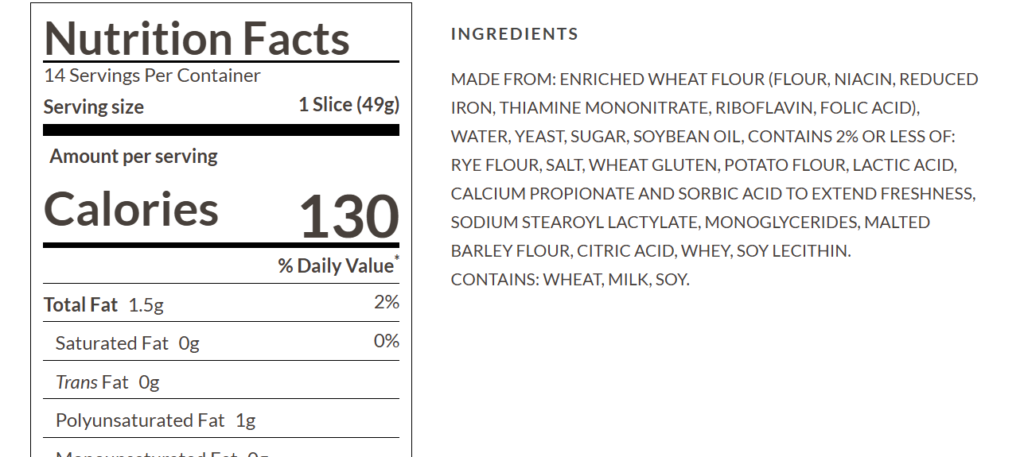
Plus, have you looked at the ingredients in store bought bread? I don’t know what half of those ingredients are, let along how to pronounce them.
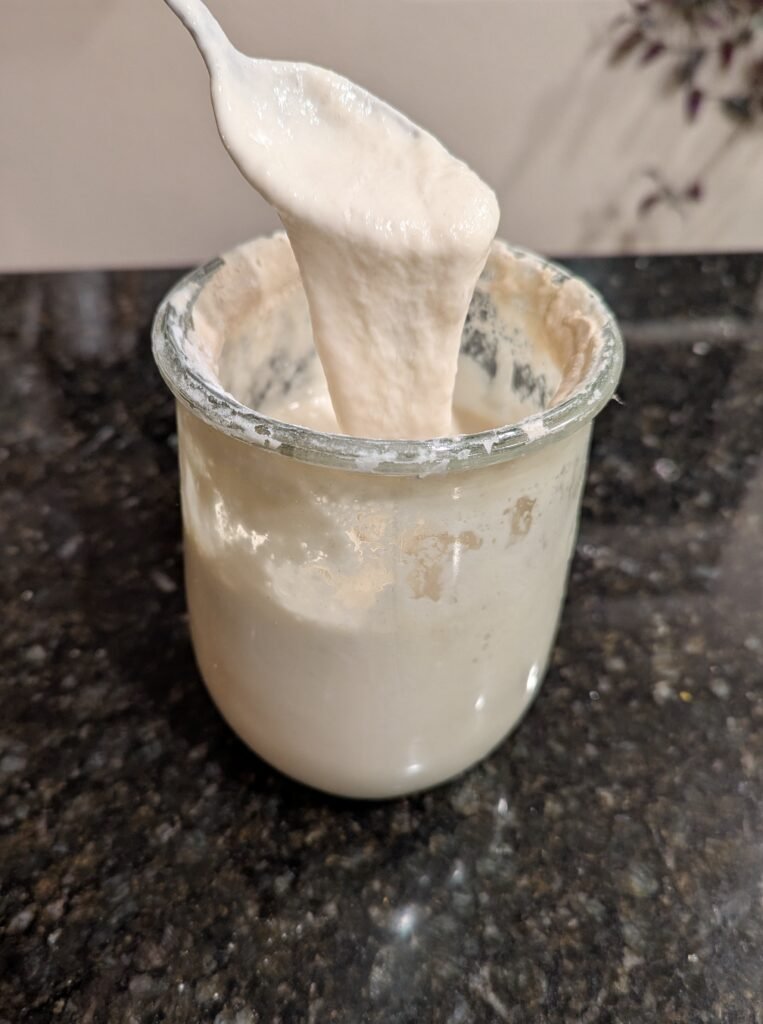
So next time Grammy came to visit, I made sure that she brought some of her sourdough starter for us to “feed” so we had our own replenishable supply.
And, as it turned out (like many things in life), it wasn’t that hard to do once we had the sourdough starter, and a general routine (which, when I say “routine”, I mean it in the loosest of senses). For us, typically we will make bread Saturday or Sunday for the upcoming week, and we never have to do anything else (such as getting rid of the “sourdough discard”).
One thing to keep in mind, however, is the timing of it all. It does take some time to let it rise – one of the steps is usually an overnight rise – but you can also do it during the day if you start early enough (or provide a bit of warmth). From there it’s a two-step bake – 25 minutes lid on, 20 minutes lid off. I remember during my first bake I figured I’d try to multitask, and I was outside in the garage tinkering around – completely forgot about the bread in the oven and I must have pulled it out an hour later. Whoopsies!
Surprisingly, it wasn’t that bad. Sure, it was a little crunchy, but still very tasty. That’s the thing about sourdough bread – it’s pretty forgiving – including the sourdough starter. Plus, you don’t need a breadmaker, or any fancy tools to make this delicious bread – if you have a Dutch oven, you should be good to go. A small food scale is quite useful (but not required) since many recipes online are laid out in grams vs. cups. You can find these pretty cheap on Amazon (https://amzn.to/40Xxepu) .
Believe me, once you try this bread, it will be very difficult to go back to store bought – it is that good, and the kids love it!
Homemade Sourdough Bread Recipe
Ingredients:
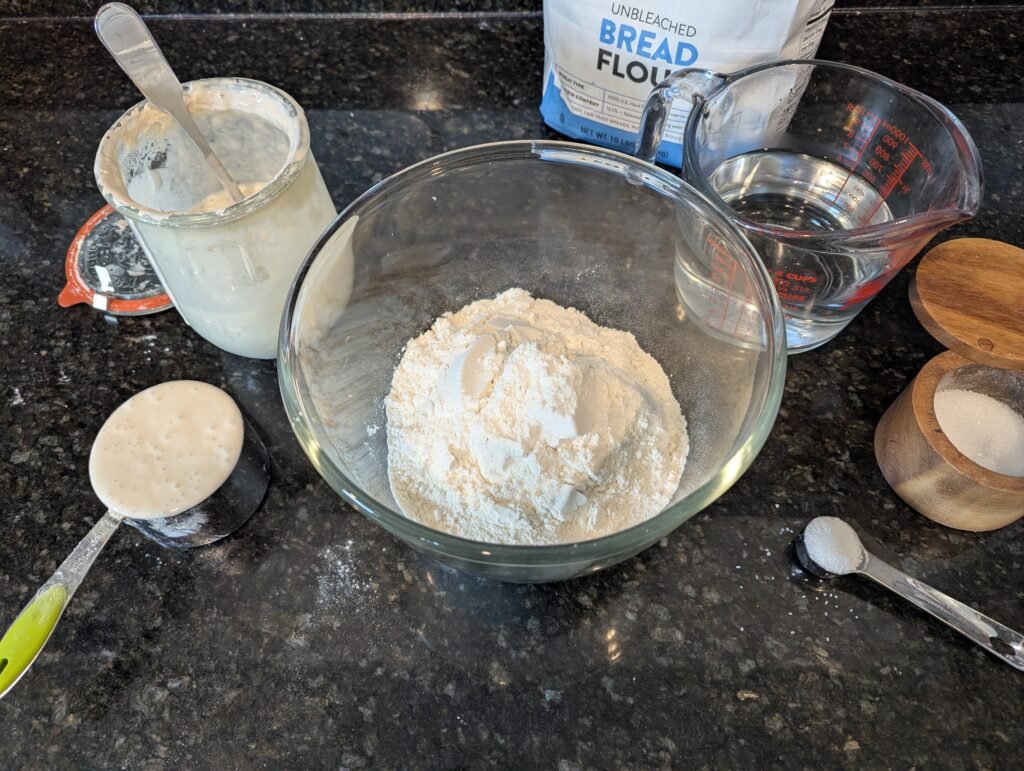
- 1 Cup of sourdough starter
- 3 1/2 Cups of flour (we like King Aurther’s unbleached flour, https://amzn.to/4jJQcHF)
- 2 teaspoons of salt (fine ground sea salt is great, https://amzn.to/42DeLQd)
- 1 1/4 Cups of lukewarm water
Feeding the Starter:
- 3/4 Cup of flour
- 3/4 Cup of lukewarm water
Recipe Directions:
- Take Sourdough starter out of the fridge to let come up to room temperature.
- NOTE: this isn’t a must. It is just something my mom suggested. Most of the time, I just take it right out and start using it.
- NOTE: Separation can occur with starter – that’s okay. Stir it up!
- Mix all ingredients in a glass bowl. I use simply use a spoon and try to make sure it’s mostly mixed together. Feel free to add a touch more water if it seems too dry.
- Cover the bowl, and let it rest for about an hour.
- On the counter, or on a large cutting board, stretch and fold the dough about 8 times. I put flour on my hands and will drizzle a little bit on the dough to keep it from sticking.
- Form into a ball and put it back into the glass bowl. Cover and let sit overnight, or about 8-12 hours. Some call this “proofing” (don’t ask me where they got this name). *This is not an exact science. If you are making this in the summer, it will probably be closer to 8 hours. If it’s in the winter, it will take closer to 12 hours. Regardless, it is about how much it rises. You want to let it triple in size or so.
- NOTE: At this point, I’ll feed the starter with 3/4 cup of flour and 3/4 cup of water. Mix it, then let it sit and bubble up overnight, or roughly 8 hours. Then, back in the fridge it goes.
- After the dough has risen sufficiently, you’ll want to “punch” it back down. I usually just fold and stretch a couple more times, then back into a ball.
- Place newly formed ball of dough into a parchment lined Dutch oven. Cover and let rest for 2 hours, or until sufficiently risen (again, this is highly dependent on time of year. In winter time, we will let it rise for roughly 3-4 hours).
- NOTE: You can also accelerate the rise if you put it in a warm spot. If I want to bake it quicker, I’ll turn on the oven, and put the dutch oven on the stove as the warmth from the oven seeps out. This will help the dough rise more quickly.
- Preheat oven to 425(f) .degrees. Bake with lid on for 25 minutes. Bake an additional 20 minutes with lid off.
- When it is finished, make sure to remove bread from the Dutch oven and let it cool on a cookie rack or something similar so it doesn’t become soggy with moisture.
- You’ll want to try it fresh from the oven – slap a bit of butter on the steaming hot bread and enjoy!
Other Notes:
⦁ If you start the rise and forget that you have to leave for some reason and won’t be around to bake it, you can always throw it in the fridge. Then, when you are ready, bring it out of the fridge and let it rise until it’s ready to bake.
⦁ Finer salt seems to distribute better amongst the dough versus a coarse ground salt.
Again, this may seem like a lot, but it’s not super complicated, and it’s about getting into a rhythm. What I like to do is start it Friday or Saturday evening, and let it rest overnight. Then in the morning, do the punch down and final rise step, then bake it. Boom! Fresh and super delicious bread, with none of the crazy, can’t-pronounce ingredients from the store. The loaf usually lasts us about a week of toast in the morning and sandwich making for lunches (among other things).
Plus, there are so many other things you can make with the sourdough starter. We love to make pizza dough (seriously, the BEST homemade pizza, better than any pizza place), sourdough pancakes (our kids demolish these pancakes), focaccia bread, even cinnamon rolls (my ABSOLUTE FAVORITE). There are so many sourdough starter recipes out there. The fun is in experimentation!
Do you have any suggestions on how to use your sourdough starter? I would love to hear about it in the comments below!
Leave a Reply